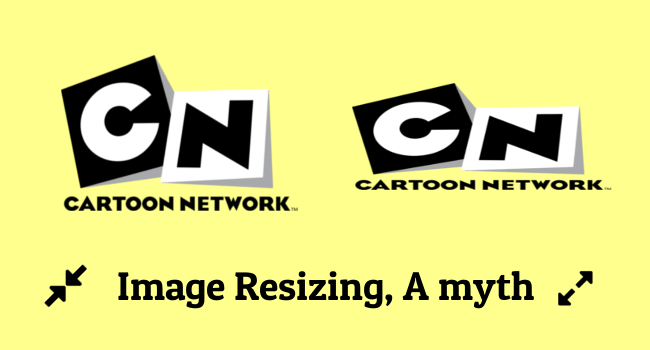
How to Resize Images Without Changing Aspect Ratio
Let's say you're going to upload an image online. The problem is sometimes your image won't match the dimensions the site requires. TL;DR version of the solution to this problem will be resizing the image, but here's the catch, it's always more than that. You'll find out how.

For better illustration, let's take an example. You've to upload an image to G Suite panel. As mentioned on G Suite Administrator Help page, the required dimensions of company logo is 320 x 132 pixels, which means 320px in width and 132px in height.
I used my favorite open-source image editor GIMP. I can assure you that, whatever I do in this guide, you'll be able to do the same with some other image manipulation application or you can use online power packed image editing tool Photopea. If you're not a tech savvy person and need step by step guidance on how to do this online, check this guide - Image resizing using Photopea
1. Required dimensions are less than your image dimensions
Here there are three possibilities, your image,
- Height is more
- Width is more
- Width and Height both are more
Let me quickly show you what will happen when you blindly resize your image to required dimensions with two examples. Note that the black border in all the images are for better illustration, in real there won't be any borders.
Example 1

Dimensions of above image are 390px width and 257px height. It falls under the third category. Resizing the image to 320 x 132 pixels will make it look like,

Skewed and doesn't really look good. Right?
Example 2

This falls under the second category. Resizing it to 320 X 120,

Letters are cramped and it no longer looks like a logo. Isn't it?
Your goal is resizing the image to site requirements as well as making it look good. Got it? How are you going to do it? Fortunately, one approach can solve the issue for all the three types mentioned above. The key here is keeping the aspect ratio of your image intact.
How to resize as well as make the image look good
As said before aspect ratio has a crucial role in fixing this. Let's take the requirement 320 X 132 pixels. Divide the width by height.
Required aspect ratio, width / height = 320 / 132 = 2.42
Calculate the width to height ratio of the image you want to upload.
Example 1: 390 / 257 = 1.52
Example 2: 440 / 75 = 5.87
If the aspect ratio of your image is more than that of required aspect ratio, resize the image till it's width becomes equal to required width without changing the aspect ratio of the image.
If the aspect ratio of your image is less than that of required aspect ratio, resize the image till it's height becomes equal to required height without changing the aspect ratio of the image.
The last step would be pasting the resized image on a transparent layer having required dimensions and aligning the image horizontally center and vertically middle. Are you confused? Okay let's use the above solution in our examples one and two, then you'll get a clear idea what to do.
The very first step will be creating a transparent layer with required dimensions which is 320 X 132 pixels. If you don't know how, check this guide to do it online - Resize images on browser using Photopea.
Fix example 1
As per our calculation, the aspect ratio of example 1 is 1.52. As it's less than required 2.42, we've to resize the image so that it's height becomes 132px. We must not worry about the width and have to resize until the image height becomes 132px. Keep in mind that we're not going to change the aspect ratio of the image.
After resizing is done, we'll paste on the transparent layer created above and properly center aligning both vertically and horizontally. So eventually, our image will look like,

Fix example 2
The figure of example 2 is 5.87 which is more than 2.42. Hence, it has to be resized till it's width becomes 320px. Of course, without changing aspect ratio. After pasting & aligning it on a transparent layer. It looks like,

Now our images not only become uploadable but also look better.
2. Required dimensions are more than your image dimensions
Solving this is a lot easier, without changing the aspect ratio scale up your image till it reaches either maximum width or height. The issue you may face here is your image may become pixelated. In that case, stop scaling when it starts to look blurry.
So, the first step will be creating a transparent layer with required dimensions then pasting your scaled image on top of it and then aligning it horizontally center and vertically middle, that's it. This will do.
I have built an app to check the things that matter to you the most with a single click. If this interests you, you can give it a try on getradar.co.
